

Dear Reader,
Today I’ve finally decided to tackle the bare space on my living room walls. This particular wall has been a bone for a contention for years, and I’m excited to share with you how I finally fixed it… well, almost.

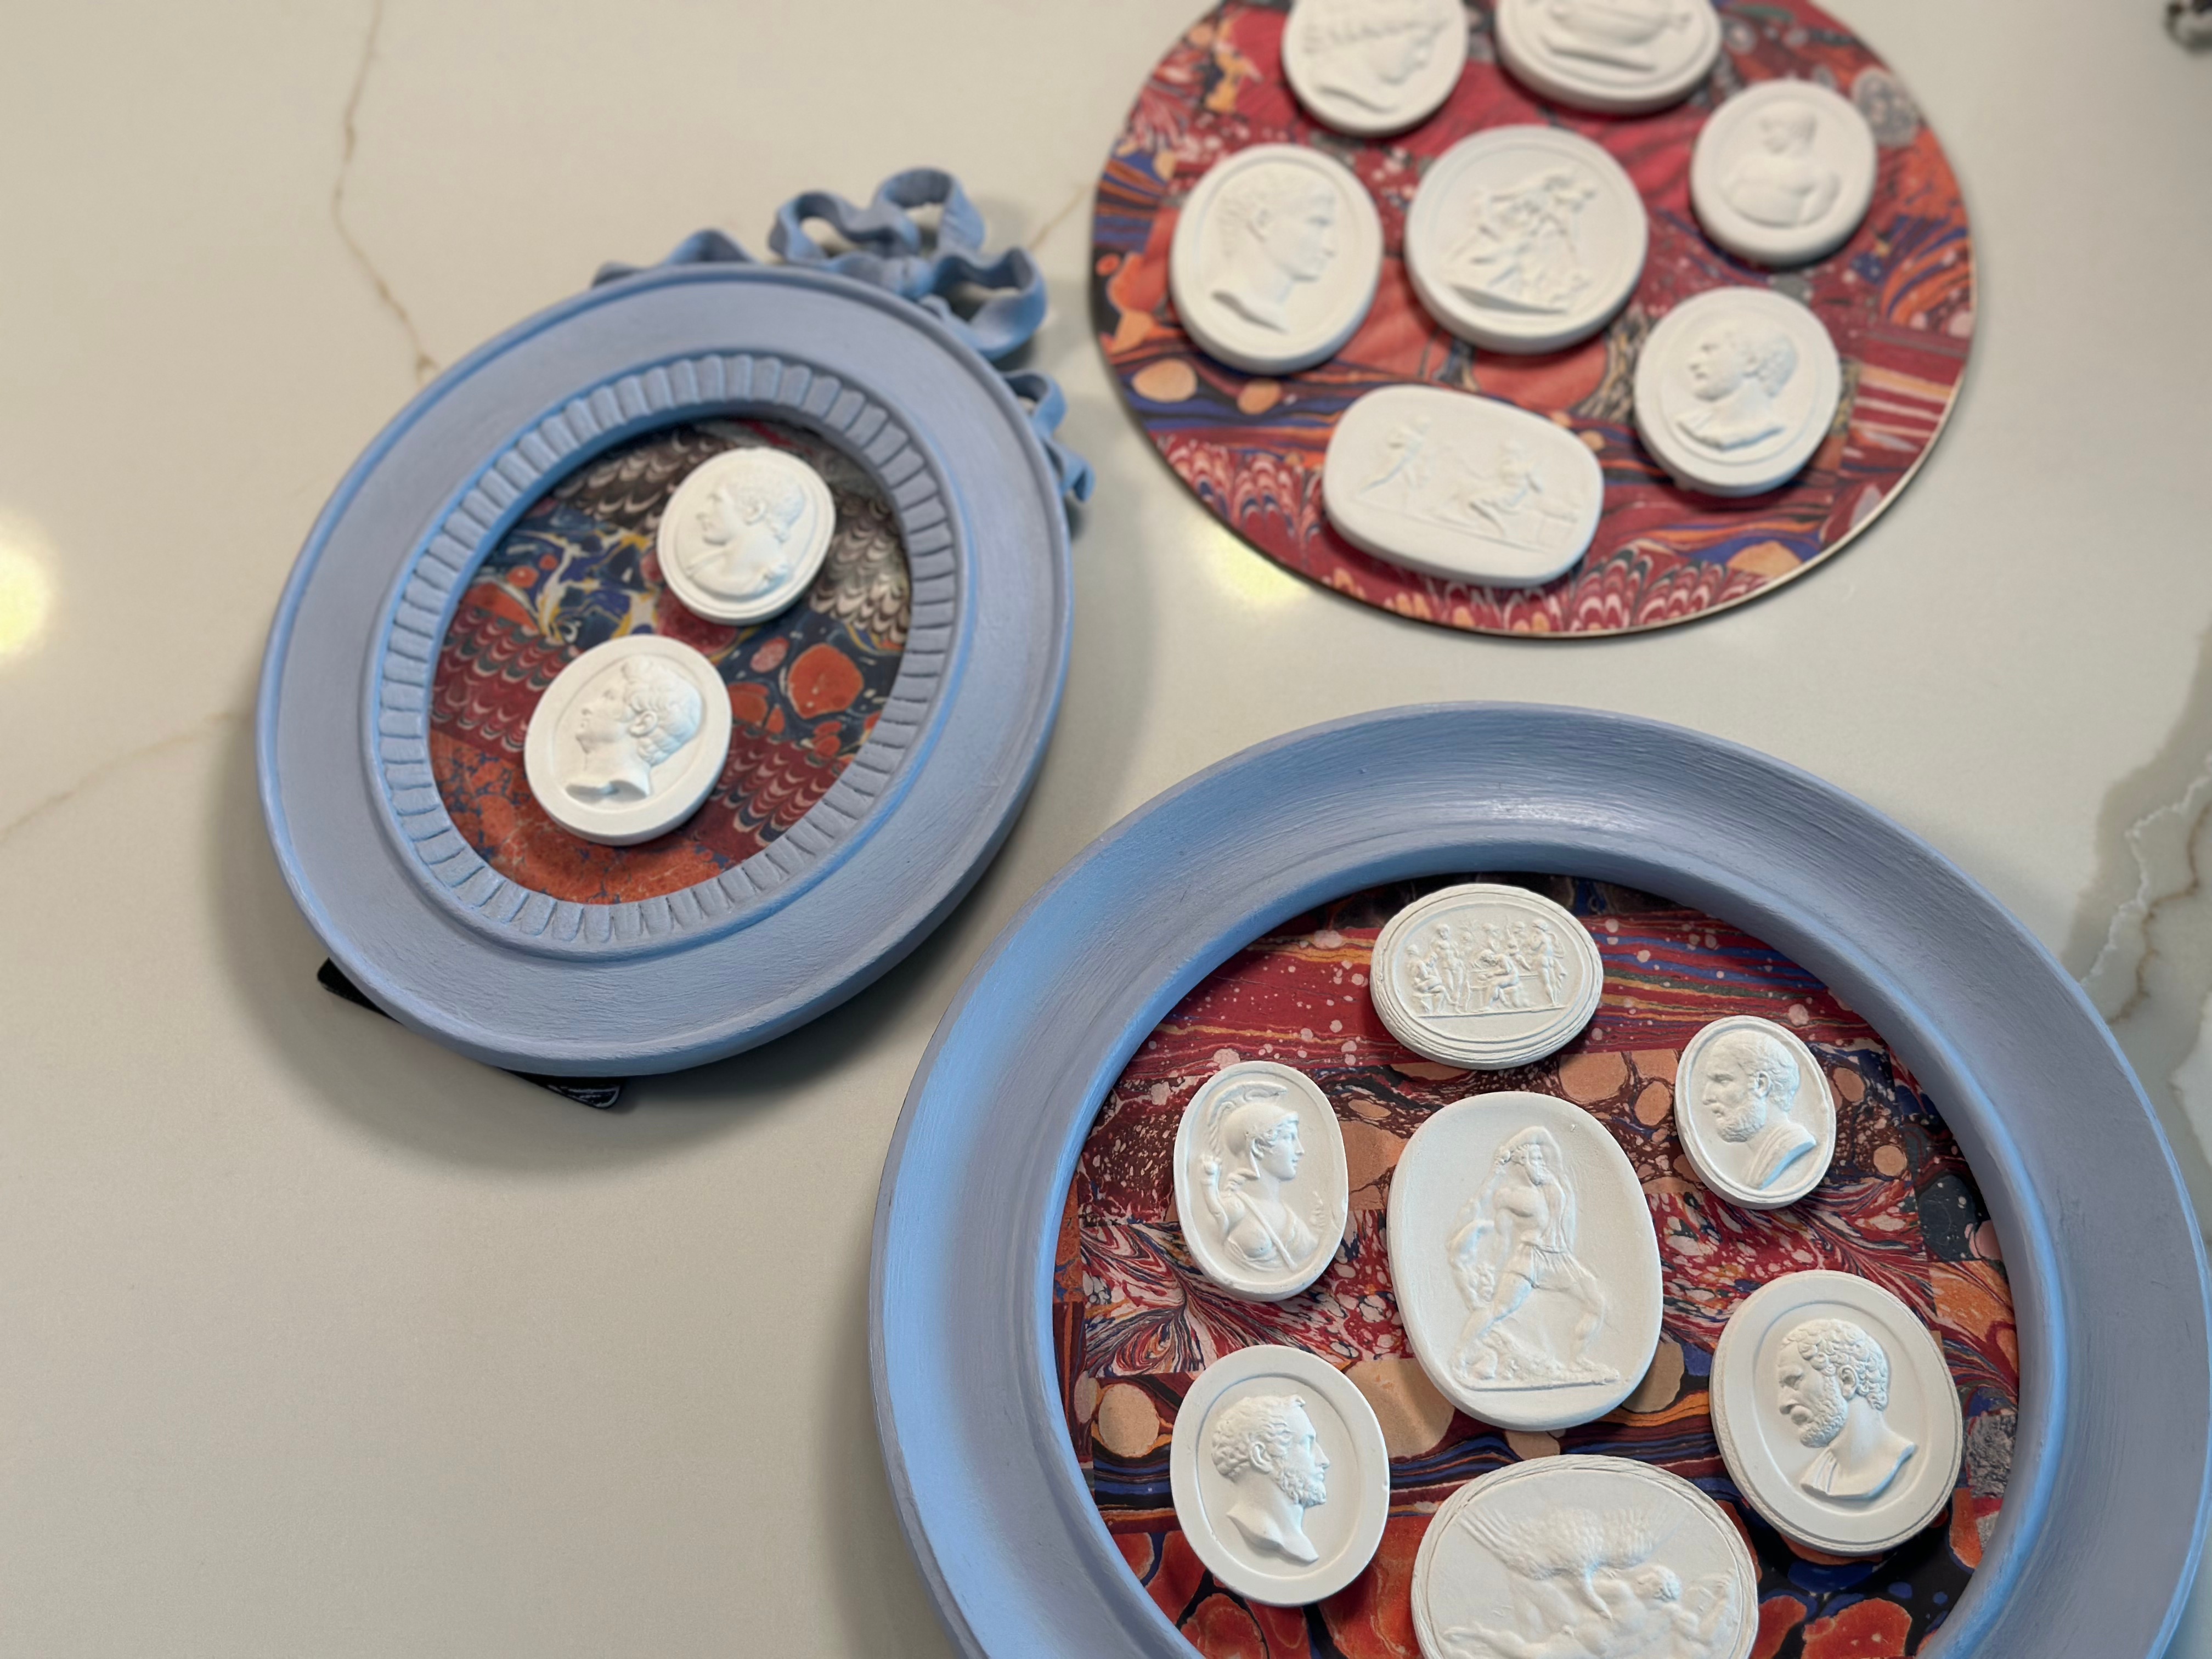
I decided to take the plunge and create wall mounted intaglios for a regal Grand Tour vibe around my LG flatscreen. Grand Tour souvenirs…. LG flatscreen… they practically go hand-in-hand right? So chic! With a quick trip to Goodwill, I found the frames I needed for the project, and the results are outstanding! Here’s how I did it:

Supplies:
Plaster Intaglios: these can be found on Etsy or eBay with relative ease. When shopping for your intaglios, make sure they have that neoclassical look for authenticity.
Frames: These can be found for about $1-$2 a frame at any Goodwill or thrift store.
Annie Sloan Chalk paint and Clear Wax. For this project, I used Annie Sloan Louis Blue. It’s within the same color family as Wedgewood jasperware- although not an exact match.
Annie Sloan Paint Brushes: https://rstyle.me/+wJWSZV6MuhDTdoka8yUB8w
Annie Sloan Wax Brushes: https://rstyle.me/+6FEj133dYwJYtq4TUtDAdg
3M Spray Adhesive: https://rstyle.me/+RbJB-HMRCXzUnUE7X7KZAQ
E6000 glue: https://rstyle.me/+cK572358Q6ze6C2tSwuPrw
Fanciful Paper: I found mine at The Paper Source

Painting:
Now for the fun part! Annie Sloan paint is so easy to use- there’s not sanding or priming to get started, and if you make a mistake, it’s incredibly easy to clean it up and fix it! It’s important to work the paint in all directions. After the first coat, wait 1-3 hours before starting your next coat once the paint is touch-dry. I recommend doing this for 3 coats for perfect full coverage. I selected Louis Blue to give my frames that “vaguely European antique” look that we all crave. And I couldn’t be more pleased with how this color came out. I’ll be using this blue again on an upcoming project for the living room!
Once the painting is dried for about 24 hours- you’re ready to begin waxing. For this project I opted to only wax with the clear wax instead of adding the dark wax like I did with the carrots in my last DIY. I came to this decision because I knew the dark wax would look odd against brilliantly white plaster intaglios.


Paper:
Once our paint is dried and our wax is cured, it’s time to start selecting the perfect paper. For me, I wanted a paper that would work seamlessly next to the reproduction of Peter Paul Rubens “The Hunt” that hangs above our tv. I took my Annie Sloan paint card to the Paper Source and selected the perfect paper. This paper really lends itself to the Grand Tour look I’m trying to achieve and it remind me of Pietra Dura, or the Marble Specimens that were also common Grand Tour souvenirs. Once I had the sizes cut down that I needed, I used 3M adhesive spray to adhere the paper to the wood backing. I used a spray adhesive for a clean and professional look, and I’m so glad I did. It’s small details like this that really take our DIY projects to the next level.


Mounting:
After an additional 24-hours for drying, I’m ready to finally lay out my plaster intaglios and glue them to their frames. I found that my oval frames could easily hold 2 intaglios, and my round frames could each hold 7. When laying out the intaglios, order and scale is important. The most important part of classical design is perfect proportions, repetition and scale, and our DIY can’t disappoint. To mount the intaglios to their frames I used E6000 glue. I really liked using this over a regular super glue because it has a gel formula. This allowed me to work at a slower pace and I didn’t have to worry about getting glue everywhere. I recommend applying the glue to the center of the intaglio so that when you lay it down- you can adjust the intaglio into the perfect spot and not risk smearing glue every which way. Just a helpful tip!


And there you have it! The perfect way to add a little Grand Tour charm to your home. I’m so glad I finally did this DIY- I’ve thought about doing it for years, and it was the PERFECT addition to our living room. Stay tuned for more great upcoming DIY projects- soon we’ll be tackling gold leafing and upholstering a new chair for my living room!
Until next time, stay safe, have fun, I’ll see you in the next one!

Leave a Reply